By Lauren Hom

Admit it: You’ve been eyeing — almost stalking — the wedding tab on Pinterest, and the DIYs look pretty good. You can almost taste those self-made s’mores favor kits and see those Mason jar candle-holder centerpieces at all of your reception tables. Although your crafty mind may wander, sometimes it’s best to stick with one — that’s right, one (or two) — DIY project for your wedding.
Think about it: How many of these things would you have to make? How much time do you have? Are you making them by yourself? What kind of materials do you need? Will this DIY project eventually cost more than buying something pre-made? These are questions you have to ask yourself before committing to a project.
So what are your options and how can you get the best bang for your buck? Here’s what we’d suggest:
Mason Jars. These little babies come in all different shapes and sizes and cost as little as seventy-five cents each. At specialtybottle.com you can get 200 twelve-ounce Eco Mason Jars for about $150 (score!). Use them for centerpieces, drinking cups, wedding favor containers or candle-holders. Spruce them up by tying a piece of Bohemian straw around the lip and you’re on your way to creating something rustic. Glue some lace around the outside of the jar and you’ve created a little sex appeal.
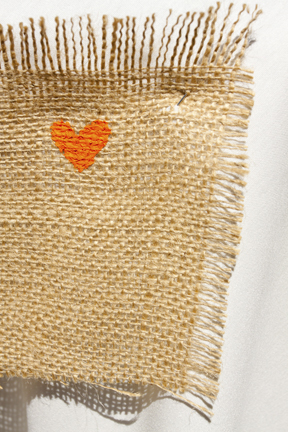
Burlap Sacks. What’s better than creating something elegant from a simple potato sack? At burlapfabric.com you can get 100 yards for $50, which is way more economical than buying individual bags. Use the fabric to create centerpieces, wedding favors and table runners. Near the beach? Go ahead and collect some sand, make a mini-sack using the burlap, some string and the sand, and you’ve got a perfect container for flowers or pens for the guestbook.
Wine Bottles. Take recycling to a new level and reuse empty wine bottles for your special day. Remove the label and you can do anything with them. My favorite: Paint them white and use them as decorative pieces (centerpieces, candle-holders, an alternative guest book or whatever else you can think of). Or, get crafty with your bottles by rolling the outside in glitter or by painting them with chalkboard paint.
Whatever your budget, there’s a way to incorporate your creative side. Just be realistic in the number and scope of DIY projects you decide to take on.
Lauren Hom is an Engaged intern and a journalism major at the University of Rhode Island.


